
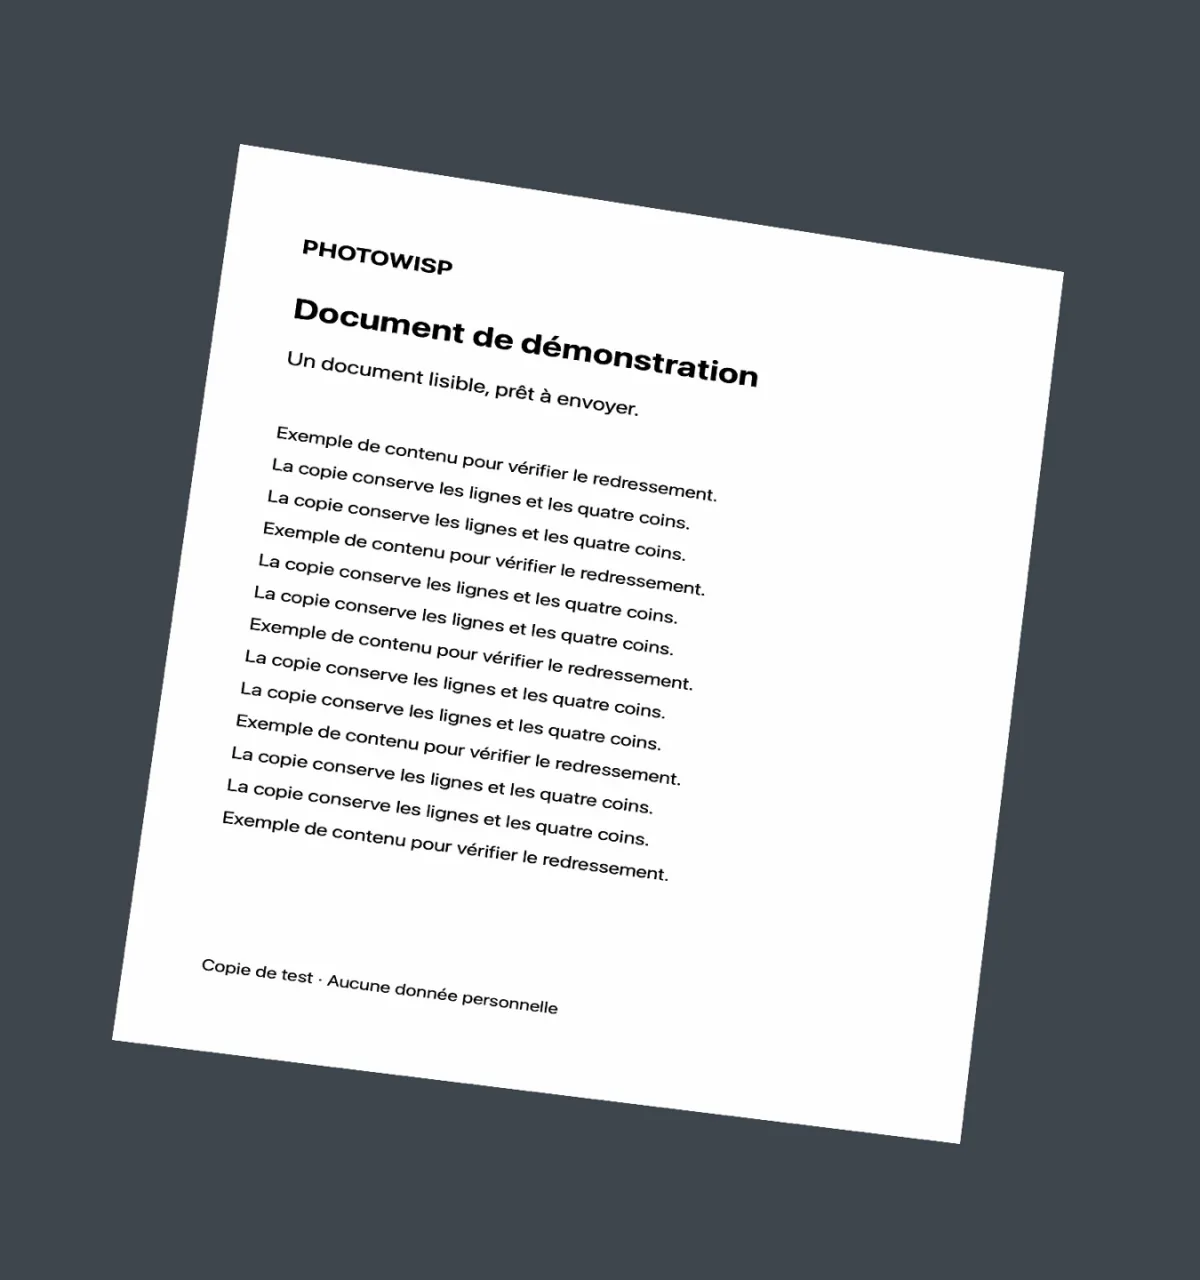
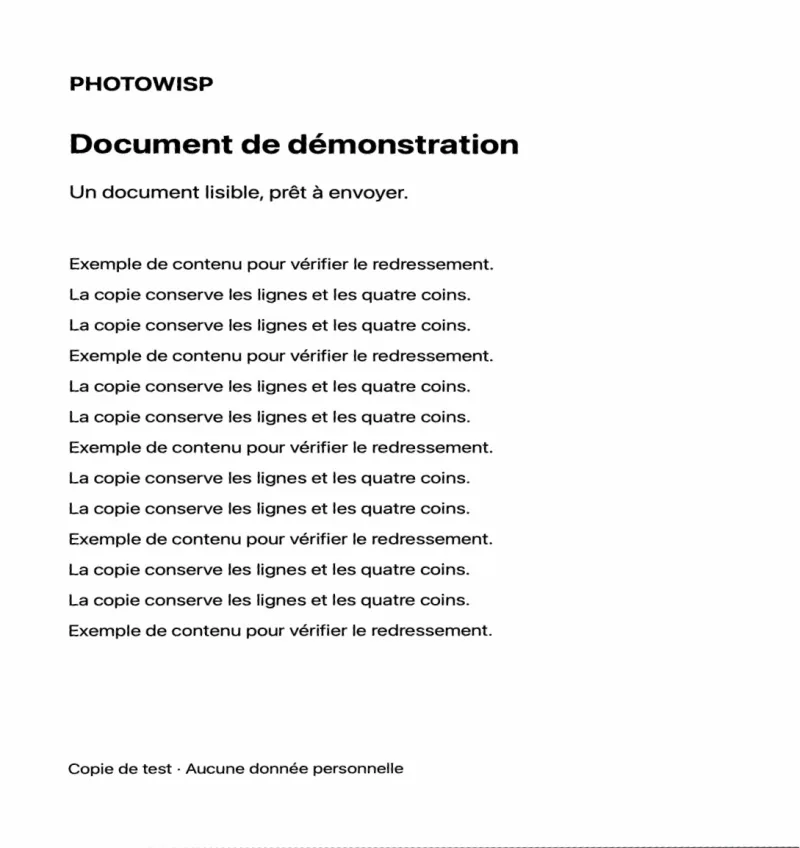
Start with a readable photograph
Lay the receipt flat and photograph the whole page in even light. Keep all four corners inside the frame. A reflection over the total or a blurred line will not be repaired by perspective correction.
Check the upload service’s instructions for accepted formats, maximum size and number of attachments. PhotoWisp produces a JPEG image in this workflow. If a PDF is required, you will need a separate PDF creation step in another tool.
Adjust all four corners
Detection proposes corners for you to check before applying, particularly with a long or folded receipt or one that blends into the background.
- Add the photo and choose Crop a document.
- Open the corner editor and place each handle on the edge of the receipt.
- Apply the perspective correction.
- Check the preview: lines should be readable and no amounts should be cut off.
- Save the JPEG copy to your receipts folder.
Reduce the size only if the upload needs it
First check the size of the corrected JPEG. If it exceeds the service’s limit, add that saved copy to Reduce file size and set a target that matches its instructions.
Inspect small print again after compression: the date, merchant name, line items and total. If it becomes difficult to read, increase the target where permitted or take a better photo instead of compressing further.
Check the attachment you actually upload
Choose the corrected file when uploading and open its preview in the receiving service if one is available. Keep the original so you can return to the initial photograph.
Cropping does not perform text recognition or enter amounts automatically. It prepares an image; categorising the expense, completing its fields and submitting it still happen in your usual expense tool.
Common questions
Does PhotoWisp turn the receipt into a PDF?
No. This workflow saves a corrected JPEG. It does not perform OCR or create PDFs.
Can correction recover a blurred amount?
No. It corrects geometry, not information that is missing or unreadable in the original photo.