
Check the file you need to send
Look at the file name and information in Finder to confirm the format. An iPhone photo may be HEIC, but that is not always the case. If it is already a JPEG and meets the recipient’s needs, another conversion is unnecessary.
Ask whether there is also a maximum file size or a required image dimension. JPEG format and file size are separate requirements: conversion alone does not guarantee a small enough file.
Create the JPEG copy
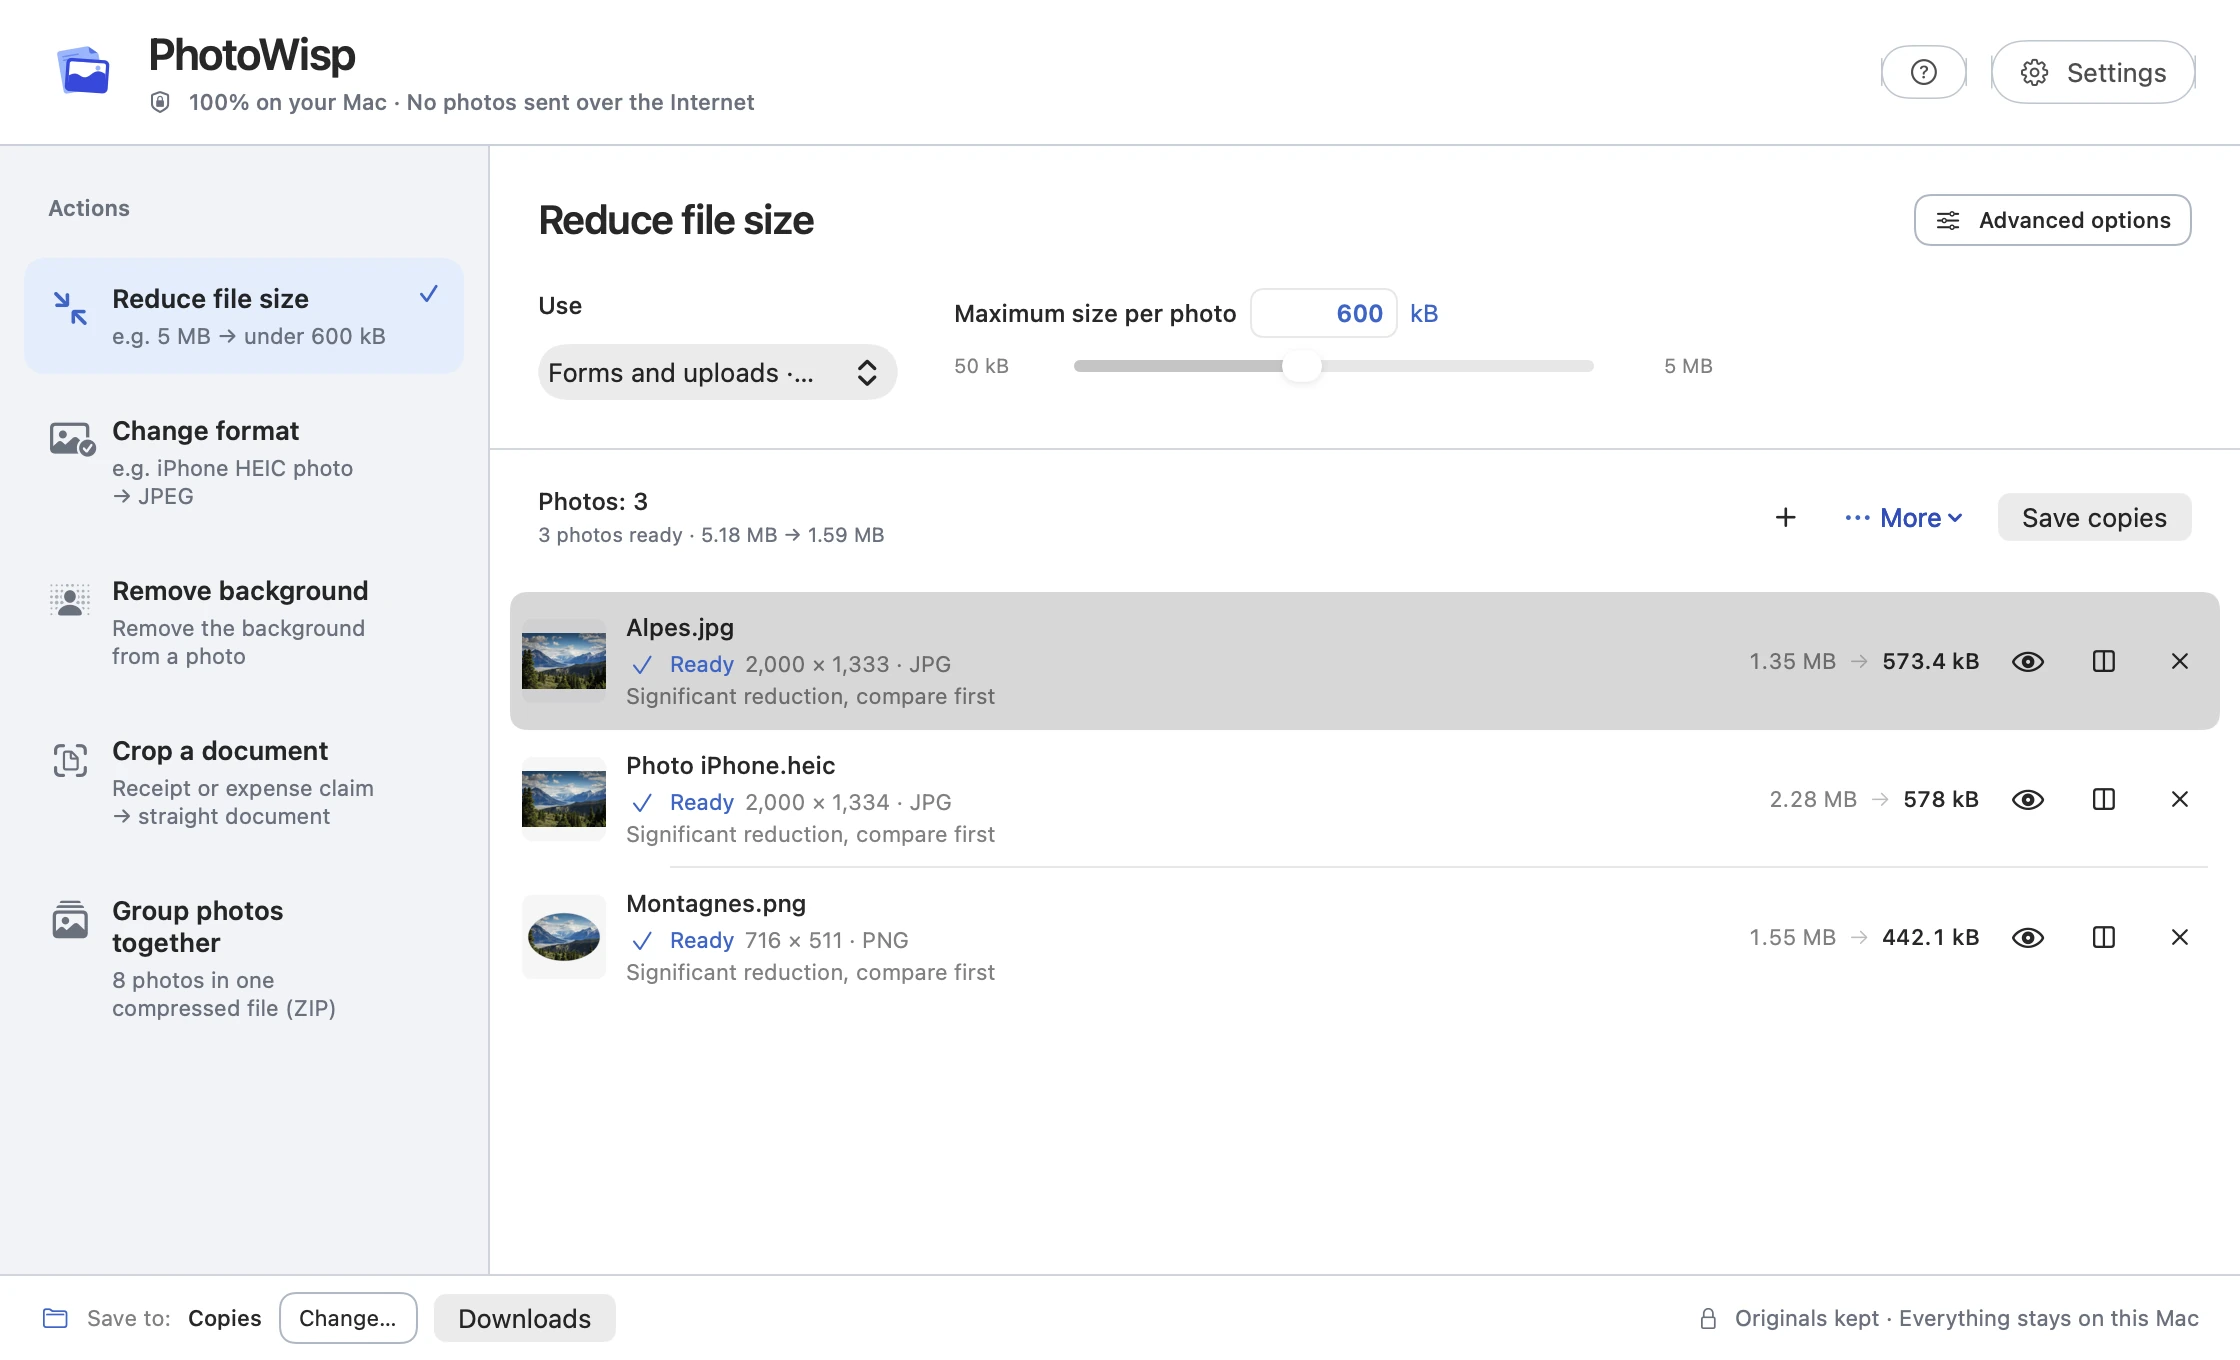
Use Change format to prepare copies. If you want to keep the original photo names, check Rename copies before saving.
- Add the HEIC files to PhotoWisp and choose Change format.
- Open advanced options if the recipient asks for a maximum long edge.
- Run the conversion, then inspect the preview and the copy’s file size.
- Save the copies in an easy-to-find folder, such as Downloads.
Attach the copy rather than the original HEIC
In your email app or sharing form, select the newly created .jpg file. Check its name and folder: the original HEIC is still in its original location.
If the JPEG is still too large, add that saved copy to Reduce file size and prepare a version below the requested limit. Starting from the saved file makes this second step easy to check.
Keep a reference version
Keep the original HEIC if you plan to use the photo again. The JPEG is a copy for this particular exchange; repeatedly encoding it with heavy compression can lose detail. For a different recipient, start from the original where possible.
Conversion takes place on your Mac. Sending by email or another service is a separate action: PhotoWisp does not send the photo to the recipient.
Common questions
Can I just rename .heic to .jpg?
No. Renaming does not convert the contents. Use Change format and send the JPEG it creates.
Are all iPhone photos HEIC files?
No. Check the format of the particular file before converting it.